Creating a Ticket
Steps
- In the navigation, go to Tickets → New Ticket.
- On the type selection screen, click the card for the ticket type you want to use. Only active ticket types are shown.

- Complete the ticket form:
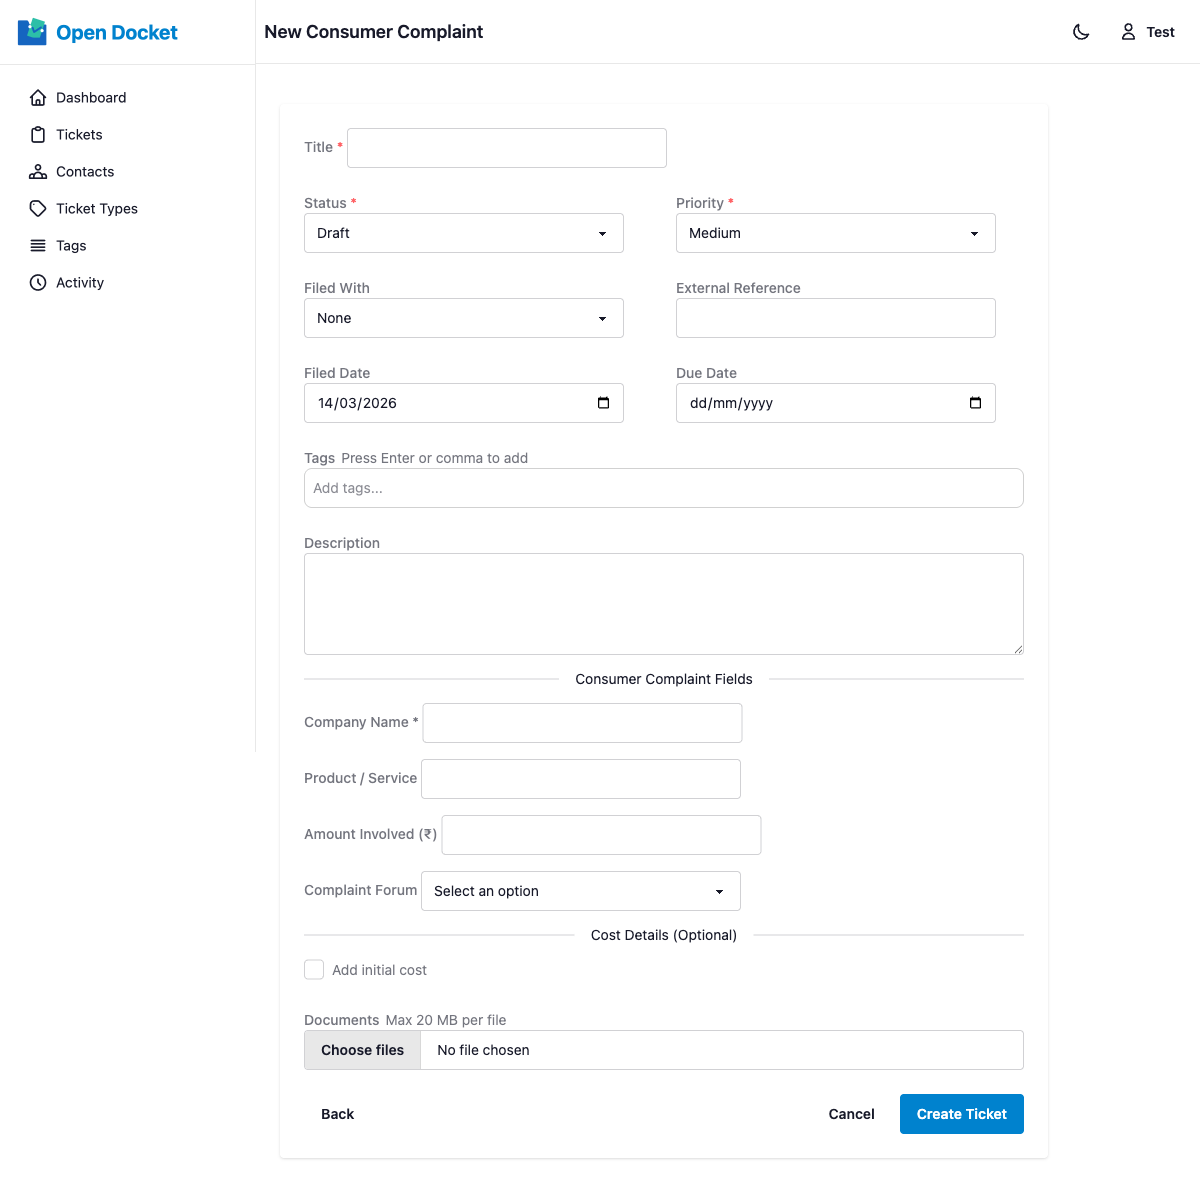
Form Fields
| Field | Notes |
|---|---|
| Title | Required. A short description of the issue. |
| Status | Defaults to Draft. |
| Priority | Choose Low, Medium, High, or Critical. |
| Contact | Select the party this ticket is filed with. |
| External Reference | Optional. A reference number from another system. |
| Filed Date | When the complaint was originally submitted. |
| Due Date | Deadline for resolution. |
| Tags | See below. |
| Description | Full details of the issue. |
| Custom Fields | Fields defined by the selected ticket type (if any). |
| Initial Cost | Optional. Toggle "Add initial cost" to record a filing fee or other upfront expense with the ticket. Fields: Amount, Incurred At, Description. |
| Documents | File attachments. See below. |
Adding Tags
- Click the tags input field and start typing a tag name.
- Existing tags will appear as suggestions in a dropdown.
- Press Enter or , (comma) to add the typed tag.
- Multiple tags can be added to a single ticket.
Attaching Documents
- Use the file input to select one or more files.
- Maximum file size: 20 MB per file.
- Multiple files can be selected in a single upload.
After Saving
After submitting the form, you are redirected to the new ticket's detail page. The reference number (e.g. TKT-2026-0042) is assigned automatically at this point.