Using Tags
Tags are colour-coded labels you can attach to tickets and contacts to help with organisation and filtering.
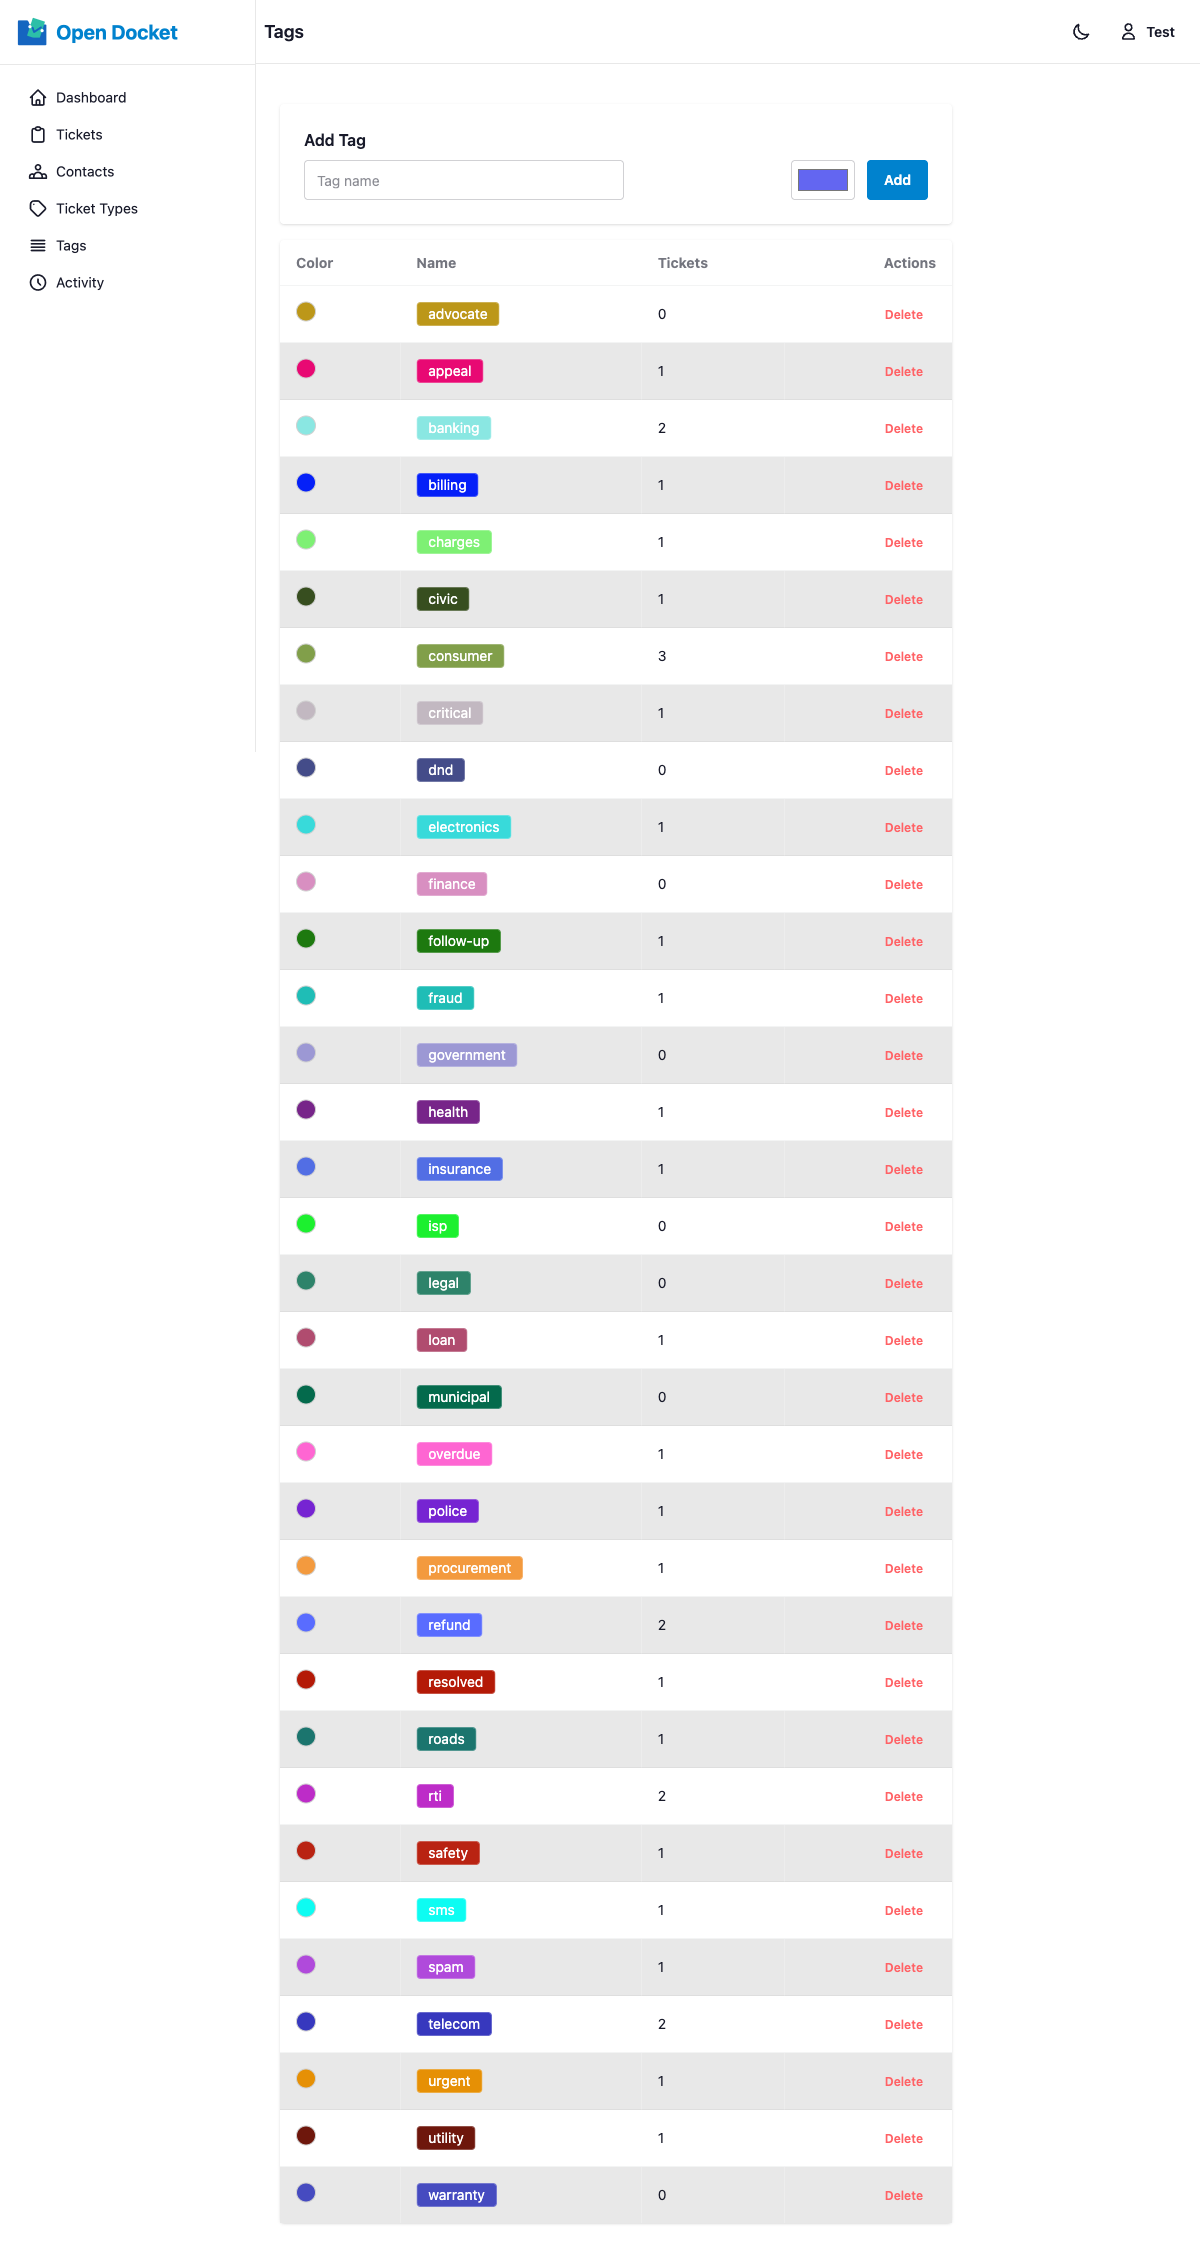
Tags Page
Navigate to Tags in the main navigation to see all tags. Each tag is shown with:
- Its colour swatch
- Its name
- The number of tickets it is attached to
Creating a Tag
- Go to the Tags page.
- Enter a name for the new tag.
- Pick a color using the color picker, or leave it blank — a random hex color will be assigned automatically.
- Save the tag.
Assigning Tags to Tickets or Contacts
On the ticket or contact create/edit form:
- Click the tags input field.
- Start typing a tag name — existing tags will appear as suggestions.
- Press Enter or , (comma) to add the tag.
- Repeat to add multiple tags.
Filtering by Tag
On the ticket list page: Use the Tag dropdown in the filter bar to show only tickets with a specific tag.
On any ticket or contact: Click a tag badge to navigate to a filtered list of all records with that tag.
Deleting a Tag
From the Tags page, click Delete next to a tag. This removes the tag from the system and detaches it from all tickets and contacts it was assigned to.